The kite pattern is one of those magical quilt block designs that looks impressively intricate but is surprisingly approachable once you learn a few simple techniques. Its angular shape, dynamic lines, and endless layout possibilities make it a favorite for both modern and traditional quilters. Whether you’re new to quilting or looking to add fresh geometry to your projects, mastering kite quilt blocks will instantly expand your creative toolkit.
In this guide, you’ll learn what a kite block is, the easiest ways to cut and sew it, layout ideas, and practical tips to keep your blocks sharp, flat, and perfectly aligned.
What Is a Kite Quilt Block?
A kite quilt block is built around a four‑sided shape that resembles a child’s kite: two shorter sides and two longer sides meeting at angled points. In quilting, this shape often appears:
- As a central focal point in a block
- As part of star or diamond designs
- In secondary patterns when blocks are repeated
Kite units can stand alone or combine with triangles, diamonds, and squares to create:
- Starbursts
- Radiating medallion designs
- Modern, asymmetrical layouts
Because of the angles involved, kites introduce movement and drama to a quilt without requiring overly complex piecing.
Why Quilt with Kite Patterns?
Before diving into techniques, it helps to understand why the kite pattern is worth your time:
- Versatility – Works for traditional, modern, scrappy, or minimalist quilts.
- High-impact visuals – Diagonal lines and sharp points give strong graphic impact.
- Scrap-friendly – Kite shapes are perfect for using up small pieces and leftovers.
- Skill-building – You’ll practice accurate cutting, alignment, and piecing of angles.
If you’ve mastered squares and half‑square triangles, kite quilt blocks are a natural next step to level up your quilting skills.
Tools and Supplies for Kite Quilt Blocks
You don’t need specialized equipment to sew a kite pattern, but a few tools make it easier and more accurate:
- Rotary cutter and self-healing mat – For clean, precise cuts.
- Acrylic ruler – A 6" × 12" or 6" × 24" ruler with a 45° line is especially helpful.
- Optional kite template or specialty ruler – Many brands offer specialty rulers to cut kite shapes consistently.
- Fine quilting pins or clips – To hold angled seams in place.
- Starch or pressing spray – Helps control bias edges and keeps fabric from stretching.
- Quarter-inch presser foot – Ensures consistent seam allowance, critical for angled blocks.
Having these tools ready will dramatically reduce frustration as you piece your first kite quilt blocks.
Understanding the Geometry of the Kite Shape
The challenge of the kite quilt pattern lies in its angles and bias edges. A kite unit usually consists of:
- A main kite shape (the central piece)
- Two or more corner or side units (often small triangles or background pieces) that square it up
Key geometry concepts:
- Bias edges: Many sides of the kite are cut on the bias, meaning the fabric can stretch if handled roughly.
- Points: The narrow tips of the kite create visual focal points, so accuracy is important to keep them sharp.
- Adjacent units: Kites are often joined to other angled units, so maintaining the correct angle prevents distortion across a row or block.
Understanding this structure will guide how you cut, handle, and sew your pieces.
Simple Methods to Cut a Kite Pattern
There are three main approaches to cutting kite shapes for quilting. Choose the method that best matches your tools and comfort level.
1. Using a Specialty Kite Ruler
This is the simplest and most accurate method for many quilters.
How it works:
- Cut fabric strips to the width specified by the ruler instructions.
- Align the ruler on the strip using marked lines for your desired block size.
- Cut along both sides of the ruler.
- Flip the ruler and repeat along the strip to cut multiple kite shapes.
Benefits:
- Built-in angles and markings mean no math required.
- Consistent cuts lead to easier piecing and better-matching points.
If you’re planning a larger kite quilt project, a dedicated ruler can save time and increase accuracy.
2. Using a Printable Template
If you don’t own a specialty ruler, a printable template is a good alternative.
Steps:
- Print your template at 100% scale on paper or template plastic.
- Cut out the template carefully along the lines.
- Place the template on your fabric, aligning grain lines if indicated.
- Trace around the template with a fabric-safe marking tool.
- Cut the shape with scissors or a rotary cutter.
Tips:
- Make sure seam allowance (usually ¼") is included in the template.
- For longevity, transfer paper templates to thin plastic or cardboard.
3. Cutting from Rectangles and Triangles (No Templates)
More experienced quilters sometimes cut kite units by combining standard shapes:
- Cut rectangles or squares.
- Use your ruler’s 45° (or other) angle line to trim corners and create a kite shape.
- Pair with pre-cut triangles or background pieces.
This method is versatile but involves more measuring and planning, so it’s best after you’re comfortable with angles.
Step-by-Step: Sewing a Basic Kite Quilt Block
Once you have your kite shapes cut, sewing the block is straightforward. Here’s a common and simple construction method.
Step 1: Prepare Your Pieces
For a basic 4-unit kite block (think of a four-pointed star), you’ll typically need:
- 4 main kite shapes (feature fabric)
- 8 small side or corner triangles (background)
Press your fabric beforehand and starch lightly if you’re concerned about bias stretch.
Step 2: Sew Side Units to the Kite
- Take one kite piece and one side triangle.
- Align the triangle along the designated edge of the kite, right sides together. You’ll usually have a small dog ear overhang on one end—this is intentional.
- Sew with a ¼" seam allowance.
- Press the seam toward the kite or open, depending on bulk and pattern instructions.
- Repeat with the second side triangle on the opposite edge of the kite.
You now have a single “kited” unit that is beginning to square up.
Step 3: Trim and Square Up the Units
To keep your kite pattern blocks neat:
- Use a square ruler to trim each unit to the specified unfinished size.
- Align key seam lines with the ruler’s markings to keep seams straight.
- Remove tiny slivers rather than large amounts—this is fine-tuning, not re-sizing.
Trimming at this stage ensures the units will join smoothly in the final block.
Step 4: Assemble the Full Kite Block
- Arrange your four kite units in a pinwheel or star layout so the points meet at the center.
- Sew units into pairs, nesting seams where possible.
- Join the two pairs to complete the block.
- Press the final seams—many quilters like to spin the seams at the center to reduce bulk and help the block lie flat.
Your finished block should measure the correct unfinished size (for example, 8½" for an 8" finished block).
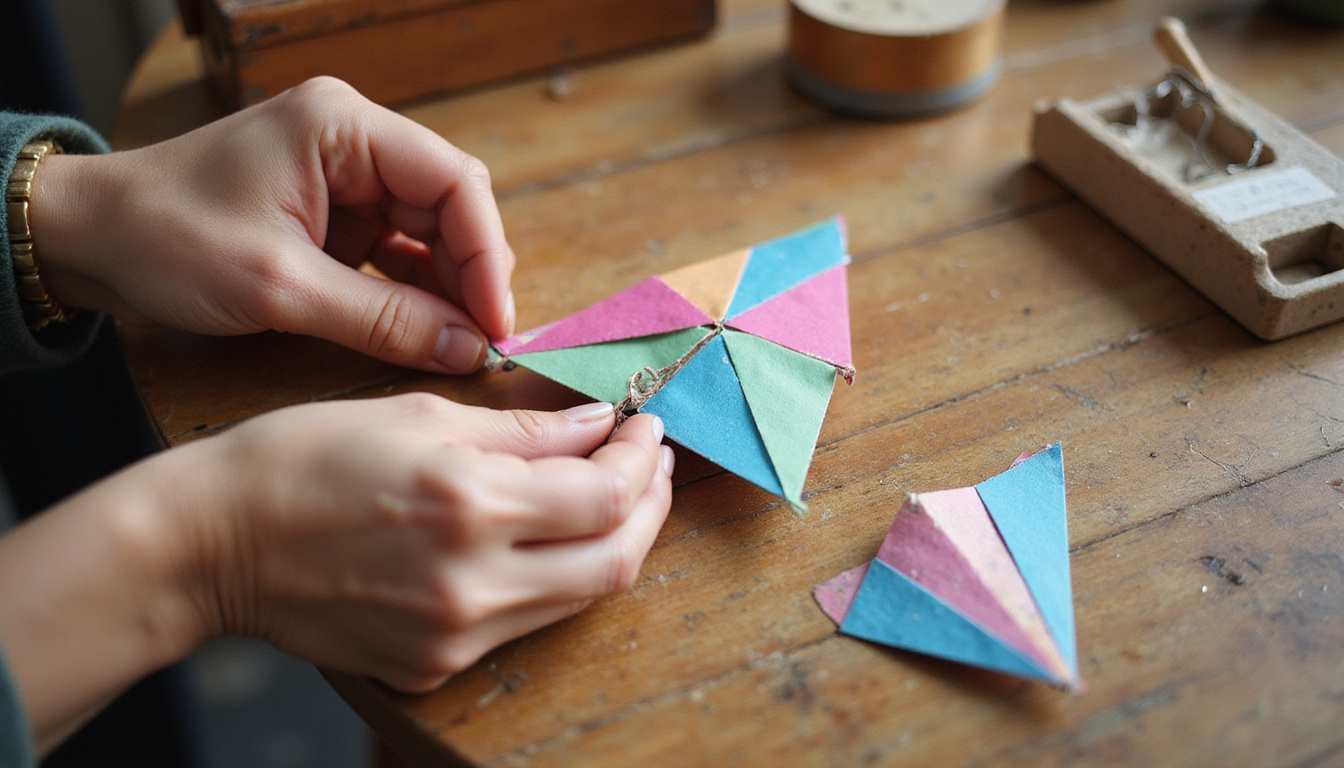
Design Ideas: Playing with Kite Quilt Patterns
The real fun begins when you start experimenting with layouts and color placement. Here are several ways to design with kite pattern blocks:
- Radiating Stars: Use light background kites and dark-center kites to form striking stars.
- Modern Minimalist: Work in a single color family (e.g., all blues) with lots of negative space.
- Scrappy Explosion: Make each kite from a different scrap; unify with consistent background color.
- Diagonal Movement: Rotate kite blocks so their long points travel in a single direction, creating a sense of motion.
- Medallion Centerpiece: Place a large kite-based star in the center of the quilt, then frame it with borders and simpler blocks.
Because the eye follows the kite’s long points, you can use them to draw attention to the center of the quilt, specific colors, or directional flow.
Color and Fabric Tips for Stunning Kite Blocks
Color placement can make or break a kite quilt pattern. A few practical guidelines:
- High contrast for definition: Use light backgrounds with dark kites (or vice versa) to clearly show the kite shape.
- Value variation: Combine lights, mediums, and darks to emphasize depth and layered effects.
- Print scale: Large-scale prints work best in larger kite shapes; small prints or solids are great where many seams intersect.
- Cohesive palette: Even with scrappy quilts, stick to a limited color family (e.g., all warm colors or a rainbow anchored with white) to avoid visual chaos.
Audition your layout on a design wall or floor before sewing everything together; the angular lines of kite blocks can shift a color balance more than you expect.
Common Mistakes with Kite Quilt Patterns (and How to Fix Them)
Working with angles introduces some predictable challenges. Here’s how to avoid the most frequent issues:
-
Blunt or cut-off points
- Cause: Inconsistent seam allowance or misaligned starting point.
- Fix: Use a quarter-inch foot and mark a scant ¼" seam if needed; match tips carefully and pin before sewing.
-
Wavy or distorted blocks
- Cause: Stretching bias edges or pressing aggressively.
- Fix: Handle units gently, press (lift and place) rather than iron (push), and consider starch.
-
Mismatched seams at block intersections
- Cause: Units not trimmed square or uneven seam allowances.
- Fix: Trim all units before assembly and check seam allowance regularly.
Developing a habit of trimming and measuring as you go dramatically improves your final results, especially with the kite shape’s sensitive angles.
Quilting and Finishing Ideas for Kite Designs
Once your kite pattern top is pieced, consider how quilting can enhance those shapes:
- Echo quilting: Quilt lines that follow the outline of each kite, ¼" away, to emphasize angles.
- Straight-line quilting: Use diagonal lines to reinforce movement across the quilt.
- Custom motif quilting: Fill kite shapes with dense motifs (like pebbles or swirls) and keep backgrounds simpler.
- Walking-foot quilting: Great for beginners looking to highlight geometry without complex free‑motion designs.
If you’re new to quilting, basic straight-line or gentle curves will already look striking with the strong geometry of the kite block. For more detailed quilting guidance, resources from organizations like the Modern Quilt Guild offer helpful tips and inspiration (source).
Simple Practice Plan to Master the Kite Pattern
To build confidence with the kite quilt block, start small and intentional:
-
Make a 4-block mini quilt
- Use just two colors (one feature, one background).
- Focus on accuracy and sharp points.
-
Create a 16-block wall hanging
- Introduce more colors or prints.
- Experiment with different rotations and layouts before sewing.
-
Scale up to a lap quilt
- Use your favorite layout from the smaller projects.
- Batch-cut and chain-piece for efficiency.
This progression lets you refine your technique on the kite pattern before committing to a full-sized quilt.
FAQ: Kite Quilt Patterns
Q1: How do I sew a kite quilt pattern for beginners?
For beginners, use a kite ruler or a ready-made template for consistent shapes. Cut a few practice kites from scrap fabric, sew side triangles to each, trim them square, then join four units into a simple star block. Start with larger blocks (8" or 10")—they’re more forgiving than tiny units.
Q2: What size should I cut pieces for a basic kite block pattern?
The size depends on your ruler or template. Many kite pattern rulers include a chart indicating strip width and finished block size. If using a paper template, ensure it includes a ¼" seam allowance and test one block first to confirm the finished size before cutting all your fabric.
Q3: Can I use scraps to make a scrappy kite quilting pattern?
Yes, kite blocks are excellent for scraps. Cut kites from different prints and keep the background consistent to unify the design. Lay out your scrap kites on a design wall to balance colors and values before sewing; this helps avoid clusters of similar colors in one area.
Bring Your Next Quilt to Life with Kite Blocks
The kite pattern combines eye-catching geometry with surprisingly simple construction, making it a powerful addition to your quilting repertoire. With a few tools, mindful cutting, and careful pressing, you can create crisp, dynamic blocks that transform into starbursts, modern layouts, and stunning focal designs.
Gather a small stack of fabrics you love, choose one of the beginner-friendly methods above, and piece a test block today. Once you see how accessible kite quilt blocks really are, you’ll be ready to turn those practice pieces into a mini quilt, a wall hanging, or even a full-sized showpiece that highlights your new favorite pattern.
Curious about why astrology has fascinated people for centuries? Explore evidence-based perspectives on spirituality, consciousness, and human psychology at SpiritualMindScience.com