Catching a giant planet at planetary opposition is one of the most rewarding experiences in backyard astronomy. At opposition, worlds like Jupiter and Saturn shine at their brightest, largest, and most photogenic in our night sky—perfect for both visual observation and astrophotography. Whether you’re using just your eyes, a pair of binoculars, or a telescope with a camera, understanding how opposition works and how to prepare for it dramatically improves your results.
Below, you’ll learn what planetary opposition is, how to find the best dates, what to expect at the eyepiece, and how to get stunning photographs of the gas giants.
What is planetary opposition?
In simple terms, planetary opposition happens when a planet is positioned directly opposite the Sun in our sky:
- Sun — Earth — Planet form a straight line.
- The planet rises in the east around sunset.
- It reaches its highest point at local midnight.
- It sets in the west around sunrise.
This configuration gives us three major benefits:
- Maximum brightness – The planet is generally closest to Earth, so it appears brighter.
- Largest apparent size – The disc of the planet looks bigger through telescopes and in images.
- Longest observing window – It’s visible all night, from dusk to dawn.
Only outer planets (Mars, Jupiter, Saturn, Uranus, Neptune) can reach opposition because they orbit the Sun outside Earth’s orbit. Inner planets like Mercury and Venus never reach true opposition relative to Earth.
Why opposition is the best time to observe giant planets
Giant planets—mainly Jupiter and Saturn for most observers—are always interesting, but opposition elevates them:
Jupiter at opposition
- Appears particularly bright, often outshining every star in the sky.
- Shows rich cloud bands, storms, and the Great Red Spot in even modest telescopes.
- The four Galilean moons (Io, Europa, Ganymede, Callisto) are clearly visible and change position night by night, sometimes even hour by hour.
Saturn at opposition
- Its rings are at their brightest relative to the planet’s disc.
- The famous “ring shadow” on the planet’s surface is often striking.
- Moons such as Titan, Rhea, and Tethys can be spotted in larger binoculars and small telescopes.
At planetary opposition, contrast is enhanced and features are easier to pick out, especially under steady atmospheric conditions (good “seeing”).
How to find planetary opposition dates
You don’t need to calculate the geometry yourself. Use these simple methods to find when a giant planet will be at opposition:
1. Astronomy apps and software
Many mobile apps and desktop tools include built-in opposition dates:
- Stellarium (desktop & mobile)
- SkySafari
- Star Walk
- SkyPortal
Search for the planet, open its info page, and look for the next opposition date. These tools also show altitude charts, helping you plan when the planet is highest in your sky.
2. Online almanacs and observatories
Organizations like NASA and major observatories provide annual observing guides. A reliable starting point is the U.S. Naval Observatory or NASA’s planetary fact sheets (for example, NASA’s planet profiles list orbital information and observing tips: NASA Solar System Exploration – source).
Search using terms like “Jupiter opposition 2026” or “Saturn opposition dates” to find current-year data.
3. Rough estimating
As a rule of thumb:
- Jupiter opposition occurs about every 13 months.
- Saturn opposition occurs about every 12.5 months.
- Mars opposition takes ~26 months between occurrences and is more variable in distance and brightness because of its more eccentric orbit.
Exact dates change yearly, so always confirm with a trusted source.
Best conditions for viewing planets at opposition
Even at planetary opposition, your experience depends on local conditions. To get the most out of the night:
1. Aim for planets high in the sky
When a planet is low on the horizon, its light passes through more of Earth’s atmosphere, causing:
- More turbulence (shimmering, blurring).
- Greater extinction (loss of brightness and color).
Try to observe when the planet is near the meridian (due south in the northern hemisphere, due north in the southern hemisphere), where it reaches its highest point. Most sky apps provide an altitude-over-time chart to help.
2. Seek steady air (“good seeing”)
Clear skies are not enough; you want stable atmosphere:
- Stars should twinkle minimally overhead.
- Planetary edges should look steady, not boiling, at medium magnification.
Sometimes hazy or slightly humid nights have better seeing than crystal-clear, windy nights.
3. Escape local light pollution (as much as feasible)
Planets punch through light pollution better than deep-sky objects, but darker skies still improve:
- Color rendition.
- Visibility of low-contrast details.
- Comfort and adaptation of your eyes.
Even stepping away from direct streetlights or shielding yourself with a building or tree helps.
Essential gear for spotting planets at opposition
You can enjoy planetary opposition at any equipment level. Here’s what to expect:
Naked eye
- Bright “stars” that don’t twinkle much—often Jupiter or Saturn.
- Noticeable motion relative to background stars over days/weeks.
- Jupiter at opposition can cast faint shadows in very dark sites.
Binoculars (7×50, 10×50, or similar)
- Jupiter appears as a small bright disc.
- Galilean moons visible as tiny pinpoints on either side.
- Saturn appears elongated; its ring system hinted at but not clearly separated in small binoculars.
Telescopes (all types)
With even a small 70–90 mm refractor or 114–130 mm reflector, opposition is when planets come alive:
- Jupiter: Multiple cloud belts, sometimes festoons and the Great Red Spot.
- Saturn: Clearly defined rings, Cassini Division visible in good conditions with ~100 mm or larger telescopes at moderate power.
- Magnification: Start around 80–100× and push higher slowly (150–250×) as seeing allows.
Quality eyepieces and a stable mount are as important as aperture.
How to photograph planets at opposition
Astrophotography of planets is different from deep-sky imaging. The targets are small, bright, and require high magnification and short exposures.
1. Tracking mount (strongly recommended)
While you can take very basic shots without tracking, for sharp, detailed planetary images you’ll want:
- An equatorial mount or computerized alt-az mount.
- Motorized tracking to keep the planet centered in the field.
This allows long video sequences or many short exposures without constant manual adjustment.
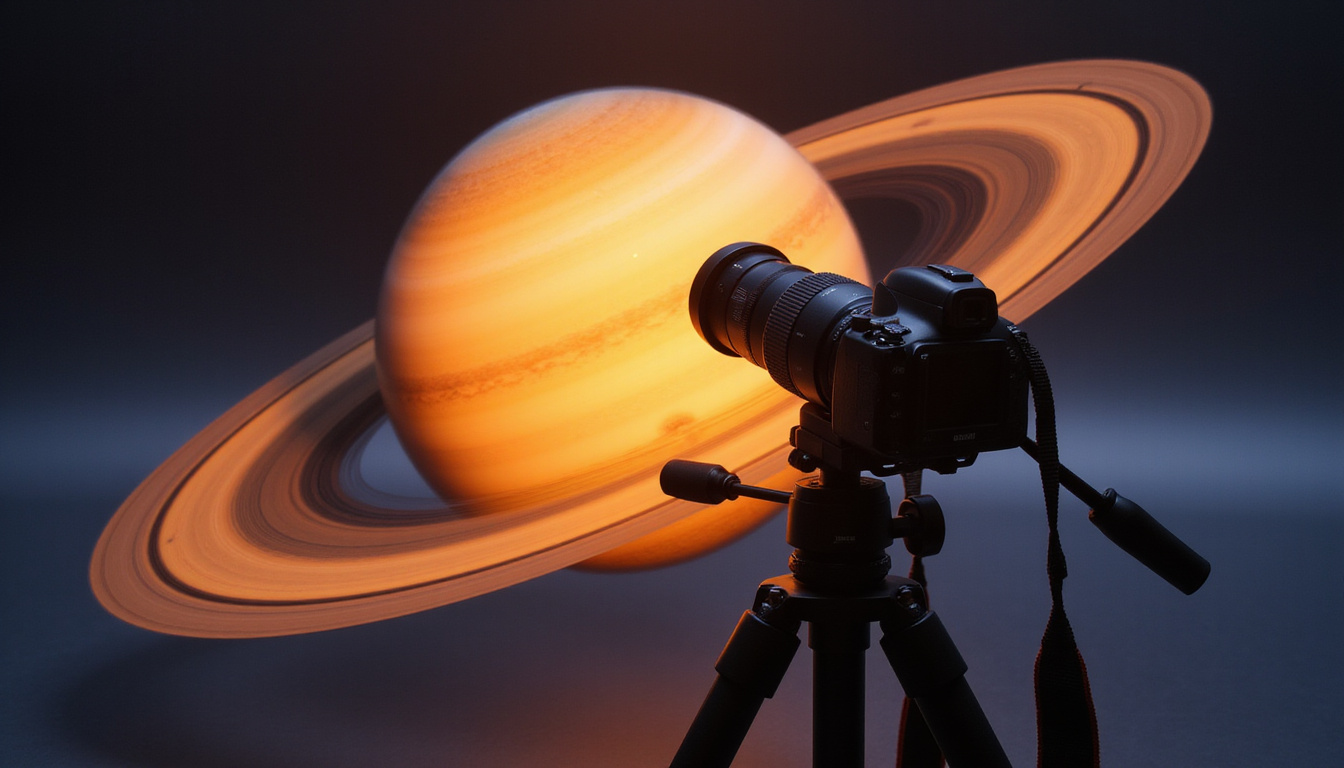
2. Camera choices
For planetary opposition imaging, you have three main options:
-
Smartphone + eyepiece projection
- Hold the smartphone camera over the eyepiece (or use a clamp adapter).
- Use video mode for best results.
- Good for casual snapshots of Jupiter’s moons or Saturn’s rings.
-
DSLR / mirrorless camera
- Attach directly to the focuser with a T-ring adapter.
- Use “video crop” modes if available for higher effective magnification.
- Alternatively, use projection through an eyepiece for more image scale.
-
Dedicated planetary camera
- Small, high-frame-rate CMOS cameras (e.g., ZWO, QHY).
- Connect to a laptop and record thousands of frames in a few minutes.
- Most effective method for detailed planetary imaging.
3. Image acquisition: the “lucky imaging” method
Atmospheric turbulence causes detail to fluctuate from frame to frame. Lucky imaging takes advantage of moments of clarity:
- Record video: Capture 1–5 minutes of high-frame-rate video of the planet (depending on its rotation speed; Jupiter rotates fast, so keep sequences shorter to avoid smearing features).
- Align and stack: Use software like AutoStakkert! or RegiStax:
- Automatically align frames on the planet.
- Reject the poorest frames.
- Stack the best percentage (often 10–30%).
- Sharpen carefully: Apply wavelet sharpening or deconvolution to bring out belts, rings, and surface detail, being careful to avoid over-processing.
Practical settings for planetary photography
Exact values vary by setup, but in general:
- Exposure time: 1–20 ms (short enough to freeze seeing and avoid overexposure).
- Gain/ISO: High enough for a well-exposed planet without clipping highlights.
- White balance: Daylight or custom balance; you can refine in post-processing.
- Focus: Achieve precise focus on the planet or a nearby bright star using live view at high zoom.
Always review your test images at full resolution. If the planet looks like an overexposed blob, lower exposure or gain until you see detail and not just a bright disk.
A step-by-step plan for your next planetary opposition
Here’s a concise checklist to prepare:
- Find the date of the next Jupiter or Saturn opposition using an astronomy app or online almanac.
- Check visibility:
- Confirm the planet is above your horizon at a convenient local time.
- Note when it crosses the meridian (highest altitude).
- Scout your observing site:
- Avoid direct lights and hot surfaces (parking lots, rooftops) that radiate heat.
- Choose a location with clear view to the planet’s direction.
- Prepare your gear:
- Charge batteries, clear memory cards, collimate reflectors if necessary.
- Let the telescope cool down outside for 30–60 minutes before fine observing.
- Plan your shots (if imaging):
- Decide on magnification and camera type.
- Run a few dry runs on the Moon or a bright star beforehand.
- Observe first, shoot second:
- Spend time at the eyepiece enjoying the view.
- Then move into capturing videos or photos once you’re familiar with what to expect.
Frequently asked questions about planetary opposition
What is planetary opposition in astronomy terms?
In astronomy, planetary opposition is when an outer planet lies directly opposite the Sun as seen from Earth, forming a near-straight line: Sun–Earth–planet. The planet is then typically closest to Earth and visible all night, making it the ideal time for observation and photography.
Why is opposition the best time to see planets like Jupiter and Saturn?
At Jupiter opposition or Saturn opposition, each planet appears brighter and larger in angular size compared to other times in its orbit. This increased apparent size reveals more detail in telescopes and results in sharper planetary photos, especially when combined with stable atmospheric conditions.
How often does a planet reach opposition?
The frequency of planetary opposition depends on the planet’s orbital period:
- Jupiter: about every 13 months.
- Saturn: about every 12.5 months.
- Mars: about every 26 months.
Uranus and Neptune also reach opposition roughly once a year, though they require telescopes and darker skies to see well.
Make the most of the next planetary opposition
Every planetary opposition is a chance to see the solar system transformed from textbook diagrams into living, moving worlds. With a bit of planning—checking dates, watching the weather, preparing simple gear—you can spot subtle ring structures on Saturn, follow the dance of Jupiter’s moons, and even capture your own detailed images from a backyard or balcony.
Don’t wait for the “perfect” setup. Start with the equipment you already have, even if it’s only your eyes and a smartphone, and build up your skills from there. Find the date of the next Jupiter or Saturn opposition, mark your calendar, and commit to getting outside under the night sky. The sooner you start, the more of these rare, brilliant oppositions you’ll experience—and the more impressive your planetary photos will become.
Learn how astronomy, psychology, and spiritual traditions intersect by visiting SpiritualMindScience.com for deeper insights.