If you care about clean, accurate drawings—whether for architecture, engineering, or design—mastering the T square is non‑negotiable. This simple tool is the backbone of traditional drafting, and knowing how to use it properly is the difference between wobbly guesswork and crisp, professional layouts. This guide walks you through everything from choosing the right T square to the exact techniques for drawing perfectly straight lines every time.
What Is a T Square and Why It Matters
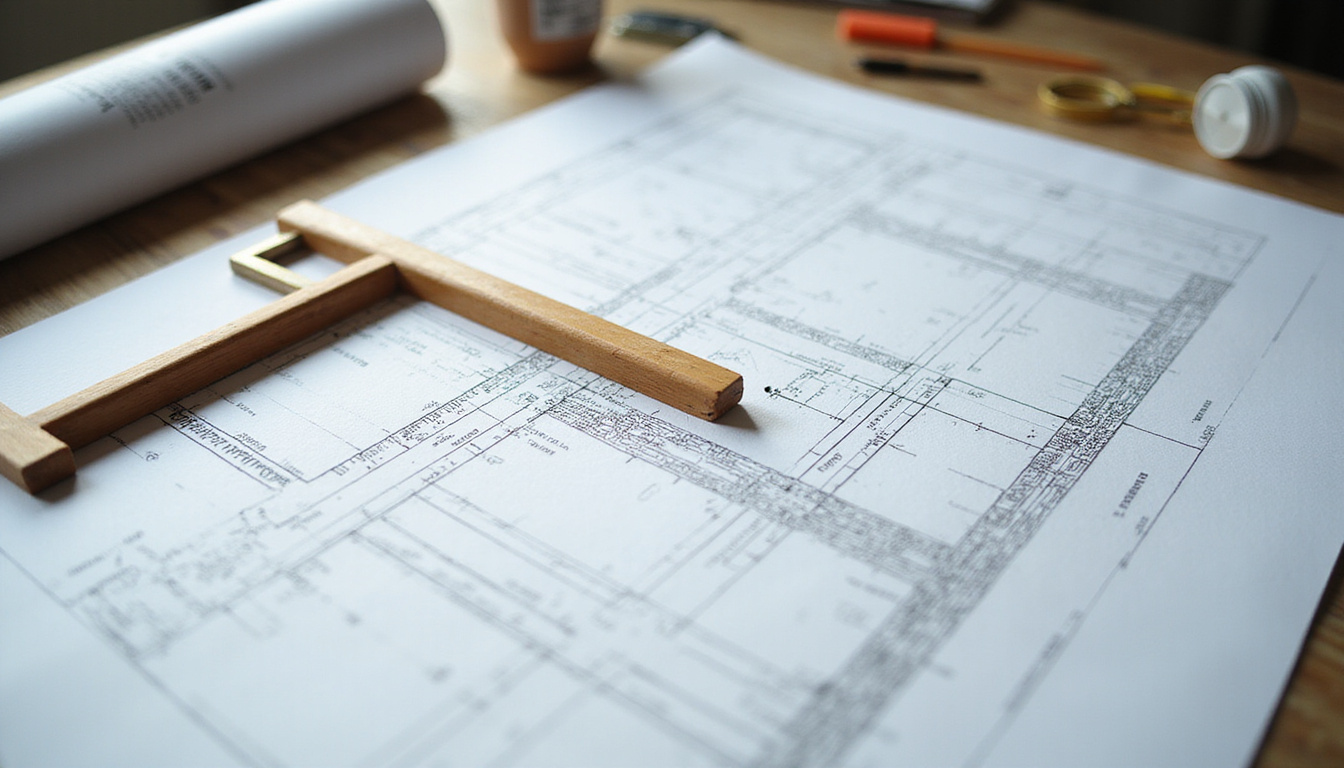
A T square is a drafting tool shaped like the letter “T,” made of a long blade and a shorter head fixed at a right angle. It’s primarily used on a drawing board to draw horizontal lines and to guide other tools (like set squares) for verticals and angles.
Key parts of a T square
- Head (stock): The short, thick part pressed against the edge of the drafting board.
- Blade (rule): The long, straight edge you use to draw along.
- Working edges: The sides of the blade you actually draw against.
Because the head locks against the edge of the board, the blade becomes a portable, repeatable reference for parallel and horizontal lines. That repeatability is what makes your drawings look consistent and technically correct.
Choosing the Right T Square for Your Work
Not all T squares are equal. The right choice depends on what you draw, how often, and your work environment.
1. Material
- Wood T squares
- Pros: Stable, traditional feel, often inexpensive.
- Cons: Can warp with humidity, may chip over time.
- Plastic or acrylic T squares
- Pros: Lightweight, transparent (helps see your work), affordable.
- Cons: Can scratch or crack, edges may wear faster.
- Aluminum or metal T squares
- Pros: Durable, long‑lasting straight edge, resistant to warping.
- Cons: Heavier, may be more expensive; metal can damage delicate surfaces if used carelessly.
For frequent, serious drafting, an aluminum or high‑quality acrylic T square is usually a smart investment.
2. Size
Common blade lengths range from about 18" to 48" (or 45 cm to 120 cm).
- Choose a blade slightly longer than the shortest side of your drawing board.
- Too short: You won’t reach the whole sheet.
- Too long: Unwieldy, easier to bump and misalign.
For an A2 or 18" × 24" board, a 24"–30" T square is usually comfortable.
3. Edge Features
Look for:
- Beveled edge: Keeps ink or pen from bleeding under the edge.
- Inking edge: Some have one edge specifically for ink and the other for pencil.
- Measurement markings: Handy, but not critical; you’ll measure with scales anyway.
Setting Up: Board, Paper, and T Square Alignment
Perfect lines start with solid setup. Skipping this step is where most accuracy problems begin.
Step 1: Prepare Your Drawing Board
- Ensure the board edge is truly straight—your T square head references this edge.
- Clean the surface: Dust, eraser crumbs, or dried ink can nudge your T square off.
Step 2: Secure Your Paper
- Align the bottom edge of the paper roughly parallel to the board edge.
- Fix with:
- Drafting tape, or
- Drawing board clips
- Press tape firmly so the paper doesn’t creep as you draw.
Step 3: Position the T Square
- Place the head of the T square firmly against the left or right edge of the drawing board.
- For right‑handers: Head on the left is often more ergonomic.
- For left‑handers: Head on the right can be more comfortable.
Slide the T square up and down with the head always tight to the board edge. Any gap will introduce an angle error.
How to Hold a T Square Correctly
Your grip determines how stable your line will be.
-
Support the head
- Use your non‑drawing hand to press the head against the board edge lightly but firmly.
- Fingers spread across the head for stability.
-
Control the blade
- Rest a few fingers along the blade to keep it from lifting or twisting.
- Avoid pressing so hard that it bends; gentle, even pressure is enough.
-
Comfort posture
- Sit or stand so your eye line is nearly perpendicular to the board.
- Avoid leaning heavily on the board—pressure can flex the board or move the paper.
Once positioned, the T square should feel solid and unmoving as you slide your pencil or pen along it.
Drawing Perfect Horizontal Lines with a T Square
Horizontal lines are the T square’s specialty.
Technique for clean horizontals
- Align the blade at the desired location by sliding the T square up or down.
- Ensure the head is fully seated against the board edge—no light visible between them.
- Place your pencil with its point just touching the working edge of the blade.
- Draw away from your body in one smooth motion, or:
- For long lines, draw in two overlapping strokes, but keep the pencil always in contact with the edge.
- Keep the pencil angled slightly (about 60°) from the paper so the lead glides, not digs.
Avoid pivoting the pencil; keep it parallel to the direction of motion. Any twist as you move can cause the line to wobble.
Using a T Square with Set Squares for Vertical and Angled Lines
A T square is the foundation; set squares (triangles) turn it into a flexible angle factory.
Perfect verticals
- Place your T square horizontally on the board as usual.
- Press the long edge of a set square firmly against the T square blade.
- Slide the set square along the blade until it’s in position.
- Draw your vertical line along the other edge of the set square.
Because the T square ensures a true horizontal, the set square can give you precise 90° verticals every time.
Standard drafting angles
Using 45° and 30°/60° set squares, you can reliably draw:
- 30°, 45°, 60° lines
- 15° and 75° by combining and flipping them
The method is the same: keep one edge of the set square flat on the T square blade, then draw along the free edge.
Common Mistakes When Using a T Square (and How to Fix Them)
Even a good T square won’t save you from bad habits. Watch for these frequent errors.
-
Loose head against the board edge
- Problem: Slight gaps mean your “horizontal” is slightly off.
- Fix: Always check the head is snug; use your non‑dominant hand to hold it firmly.
-
Warped or damaged T square
- Problem: Cracks, chips, or bends destroy accuracy.
- Fix: Check straightness by flipping the T square and comparing edges. Replace if warped.
-
Drawing on the wrong edge
- Problem: Using a worn or un‑beveled edge can cause smudges and ink bleed.
- Fix: Reserve one clean edge for inking; use the other for pencil if needed.
-
Over‑pressing with the pencil
- Problem: Heavy pressure can drag the T square or dent the paper.
- Fix: Use a light touch; let the tool guide the line, not force it.
-
Relying on printed grid or paper edge instead of setup
- Problem: Printed lines and paper edges are rarely perfectly square.
- Fix: Always base your drawing on the T square + board edge relationship, not the paper itself.
Advanced Tips for Professional‑Grade Lines
Once you’re comfortable with the basics, these refinements will elevate your work.
1. Use the right pencil and lead hardness
- Layout lines: H or 2H (light, easy to erase)
- Construction lines: 2H–4H (very light)
- Final lines: HB or B (darker, more visible)
Sharpen frequently, and rotate the pencil slightly as you draw to keep the point consistent.
2. Keep your tools and surface clean
- Wipe the T square blade regularly with a soft cloth to remove graphite dust.
- Avoid erasing directly against the T square or set square—rubber can catch and shift them.
- Clean the board surface to prevent grit from lifting the blade.
3. Check for true 90° periodically
Use a known‑square set square or machinist’s square to test the T square. If the head is even slightly off 90°, your entire drawing will be skewed.
4. Combine with a drafting machine or parallel bar (if available)
In more advanced setups (e.g., professional drafting tables), a parallel motion or drafting machine acts like a permanently mounted T square. However, the techniques you learn with a manual T square transfer directly to these systems (source: American Society of Mechanical Engineers).
Care and Maintenance of Your T Square
A well‑maintained T square can last for years.
- Store it flat or hang it by a dedicated hook to prevent warping or accidental bending.
- Avoid high heat or moisture, especially with wood or plastic models.
- Don’t use it as a lever or straight‑edge cutter with heavy pressure; that’s how edges get nicked.
- Inspect the head‑to‑blade joint: screws or fasteners can loosen; tighten as needed.
If you notice tiny nicks on the working edge, rotate the T square or switch edges for high‑precision work until you can replace it.
Quick Checklist: Drawing With a T Square
Before you start your next drawing, run through this simple list:
- Is the board edge straight and clean?
- Is the paper firmly fixed with tape or clips?
- Is the T square head sitting tight against the board edge?
- Are you drawing along a clean, bevelled edge?
- Are you using light, consistent pencil pressure?
- For verticals/angles, is the set square firmly against the T square blade?
Following these steps greatly increases the chance that every line you draw is clean, straight, and correctly aligned.
FAQ About T Squares and Technical Lines
What is a T square used for in technical drawing?
A T square is used to draw precise horizontal lines on a drawing board and to provide a straight, reliable base for set squares. With it, you can lay out grids, floor plans, elevations, and other technical drawings that rely on perfectly parallel and perpendicular lines.
How do I draw vertical lines with a T square and triangle?
To draw verticals, place your T square firmly against the board edge, blade horizontal. Then press the long edge of your 45° or 30°/60° triangle against the T square blade. Slide the triangle to the desired position and draw along its vertical edge. This keeps your vertical lines square to all your horizontals.
How can I tell if my T square is accurate?
Place the T square on the board and draw a fine line along the blade. Flip the T square over and align the blade’s edge against the line. If the blade and line match exactly with no divergence along the length, your T square is accurate. If there’s a visible gap or crossing, the tool is out of true and should be adjusted or replaced.
Mastery of the T square is more than just a drafting tradition—it’s a direct route to cleaner, more accurate, and more professional drawings. If you’re serious about architecture, engineering, interior design, or any precision drawing, commit to practicing with your T square until these techniques become second nature.
Set up your board, pick up your T square, and start applying these methods on your next project. The difference in the sharpness and reliability of your lines will be obvious—and once you experience that level of control, you won’t want to draw any other way.
Want to understand the deeper meaning behind spiritual practices and beliefs? Visit SpiritualMindScience.com for science-informed spiritual education.